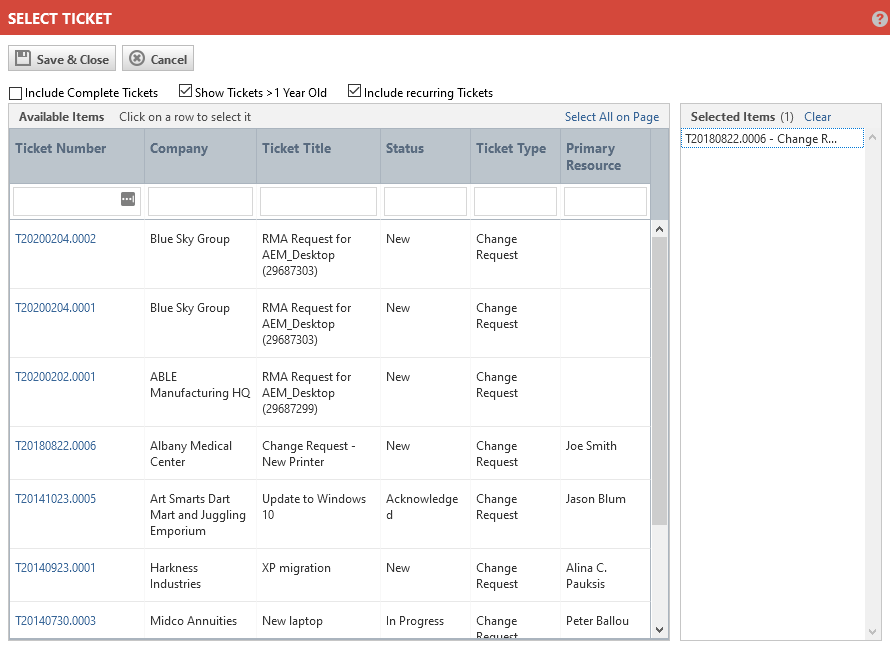
The Ticket Selector page
NAVIGATION Left Navigation Menu > CRM > Search > Opportunities > open an Opportunity > accessory tabs > Ticket Accessory tab > click Associate Existing Tickets
NAVIGATION Left Navigation Menu > Service Desk > Search > Tickets > click Search > open a ticket > accessory tabs > click the Incidents, Problems or Changes tab > click Associate Existing Ticket(s) or Associate Existing Change Request(s).
Tickets can be associated with opportunities or other tickets:
- To open the page, use the path(s) in the Security and navigation section above.
- On the Ticket page, click the Incidents or Problems tab, then click Associate Existing Ticket(s). On the Changes tab, click Associate Existing Change Request(s).
On the Opportunity page, click Associate Existing Ticket(s).
All tickets associated with the organization that you have access to, and that are not yet associated with the ticket or opportunity, will be displayed.
- To show complete tickets in the data selector, select Include Complete Tickets.
- To exclude tickets more than a year old, clear Show Tickets > 1 Year Old.
- To include recurring tickets, as well, select Include recurring Tickets.
- The first row of the table is a filter row. All filters except Created are Begins with filters.
- You can click a ticket number in the data selector list to review the ticket details.
- To move a ticket into or out of the Selected Items panel, double-click anywhere on the row except on the ticket number. To select multiple items, use Ctrl-click.
- Click Clear to clear the entire Selected Items list.
- Click Save & Close to associate the selected ticket(s) with the current ticket or opportunity.


