Autotask Purchase Orders to QuickBooks Online setup
ALERT Support for the QuickBooks Online integration will end on July 1, 2026. To avoid any potential disruption, we strongly recommend transitioning to the Smart Accounting Hub for QuickBooks Online before access to the existing integration is deprecated at a future date. Refer to Smart Accounting Hub for QuickBooks Online for more information.
PERMISSIONS You must have administrative level permissions to QuickBooks Online to correctly download and configure the Autotask to QuickBooks Online components, and access to your QuickBooks Company file.
Autotask's Purchase Orders to QuickBooks Online is a stand-alone app. It automatically transfers Autotask purchase orders to QuickBooks Online as bills. The process runs at regular intervals, with a new process starting approximately 15 minutes after the end of the previous process. Processing time depends on the Intuit AppConnect platform's level of activity and the number of items being synced.
The app attempts to match QuickBooks Online vendors and customers to Autotask organization names. If no match is found, the vendor or customer is created automatically in QuickBooks.
NOTE Customers and vendors must have unique names; for example, you cannot have both a customer and a vendor named Acme.
A Purchase Order in Autotask must meet the following criteria to be eligible for transfer and sync:
- Its status must be "Submitted".
- Its create date must fall within the time window specified on the app's Settings page.
- Its External P.O. Number field must be blank.
NOTE This field is used to track whether a purchase order has already been synced. When the purchase order has been synced, the field displays the QuickBooks purchase order number. If a sync error occurs, ERROR displays in the field.
NOTE Accounting Access for manual syncing activity is not supported.
IMPORTANT The PO integration does not transfer taxes. It does not pass tax rates or amounts to QBO. Taxation must be configured in QBO.
Before you begin...
IMPORTANT Please review the information in START HERE: Before you configure a QuickBooks Online Integration app.
Purchase orders and multi-currency
You can enable multi-currency in both Autotask and QuickBooks Online and transfer purchase orders to vendors that are using a different currency than the platform default currency.
- If multi-currency is turned on in both Autotask and QuickBooks Online, the vendor must be configured to use the same currency in both. During the transfer, will validate that the currencies match, and if the currencies are different, an error will occur and the PO will not be synced.
- If multi-currency is turned off in Autotask but enabled in QuickBooks Online, the vendor will be mapped, but QuickBooks Online will associate the Autotask-provided amount with the home currency in QuickBooks Online (with an exchange rate of 1.00).
- If multi-currency is enabled in Autotask but disabled in QuickBooks Online, no purchase orders will be transferred.
For more information, refer to Purchasing when Multi-currency is enabled.
How to...
- To access the app setup page, use the URL provided by Datto when the app was enabled.
Not enabled yet? Refer to 4. Ask Datto to enable Autotask to QuickBooks Online Integration app(s).
- Click Sign In and enter your Intuit credentials.
- When the integration opens in your browser, review the Authorization agreement and click Connect.
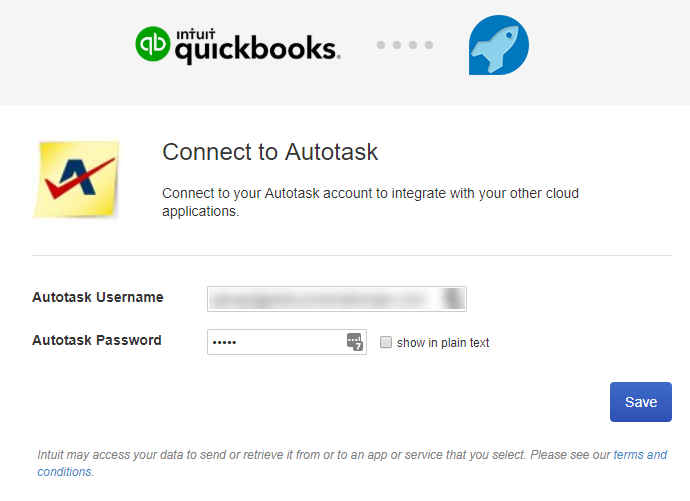
- Enter your Autotask credentials and click Save.
NOTE If the screen does not change after you click Save, refresh your browser window.
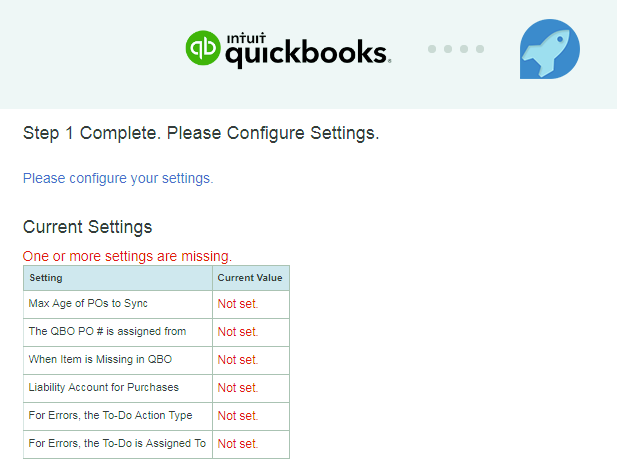
- On the page that displays "Step 1 Complete. Please Configure Settings.", click the link Please configure your settings.
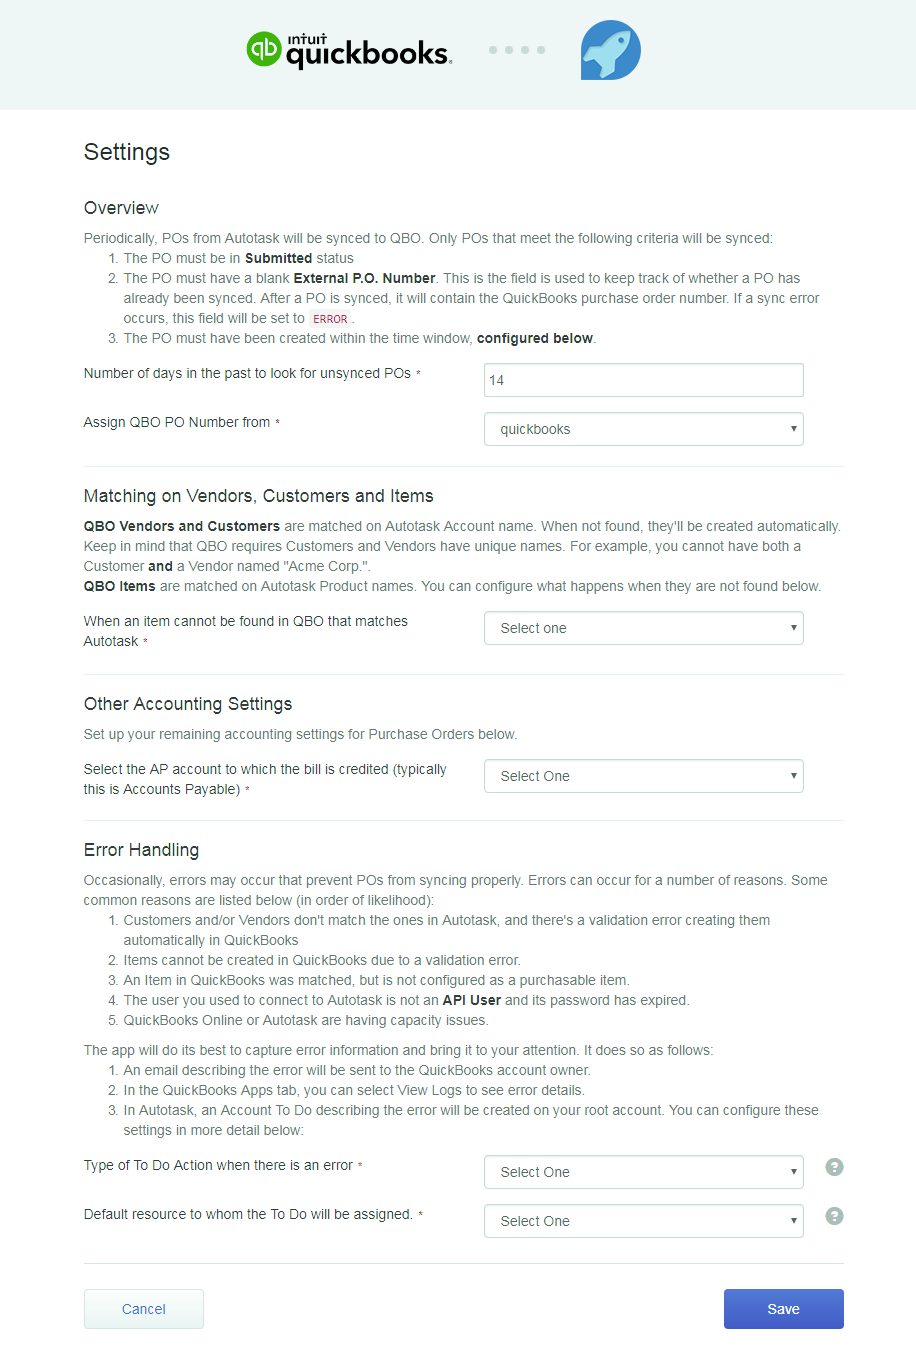
The Settings page opens.
| Setting | Description |
|---|---|
| Overview | |
| Number of days in the past to look for unsynced POs (required) | Enter the number of calendar days that QuickBooks Online should go into the past to retrieve eligible purchase orders that are not yet synced. |
| Assign QBO PO Number from |
Specify whether QuickBooks Online should assign the purchase order number from QuickBooks or from Autotask. NOTE QuickBooks requires that purchase order numbers be unique. If you select Autotask, and Autotask assigns a purchase order number that already exists in QuickBooks, the purchase order will not be synced. |
| Matching on Vendors, Customers and Items | |
| When an item cannot be found in QBO that matches Autotask | Select the preferred option. create a new item: select this option if you want QBO to create a matching item. If you select this option, a new field appears below this field. "for created items, select the expense account to use:". You must select an Expense Account. error out and stop processing: select this option if you want to automatically stop the process to manually correct the issue. |
| for created items, select the expense account to use: (appears only if the previous setting is set to "create a new item:") |
When the previous setting specifies that QuickBooks Online should create a new item when there is no match for an Autotask item, select the expense account that QuickBooks Online should assign to new items. |
| Other Account Settings | |
| Select the AP account to which the bill is credited (typically, this is Accounts Payable) |
This field is required. Select the account to which QuickBooks Online should credit bills. |
| Error Handling (for additional details on error handling, refer to What if an error occurs? | |
| Type of To-Do Action when there is an error. (required) | If an error occurs, the app creates a to-do for your local organization. Autotask to-dos require an Action Type. From the menu, select which Action type the app should use. For information on to-do actions, refer to About action types. |
| Default resource to whom the error To-Dos will be assigned. (required) | Select the resource that will manage all Purchase Order transfer and sync error to-dos. To-dos created for the local orgnization will be assigned to that resource and appear in the resource's My To-Dos list as well as the local organization's To-Do list. |
| Cancel | Cancel your current changes to the settings. |
| Save | Save your current settings. |
TIP As best practice, make note of the current settings. If you ever need to disconnect the application and lose your settings, you can then quickly re-configure the settings.
- Click Save to save your settings.
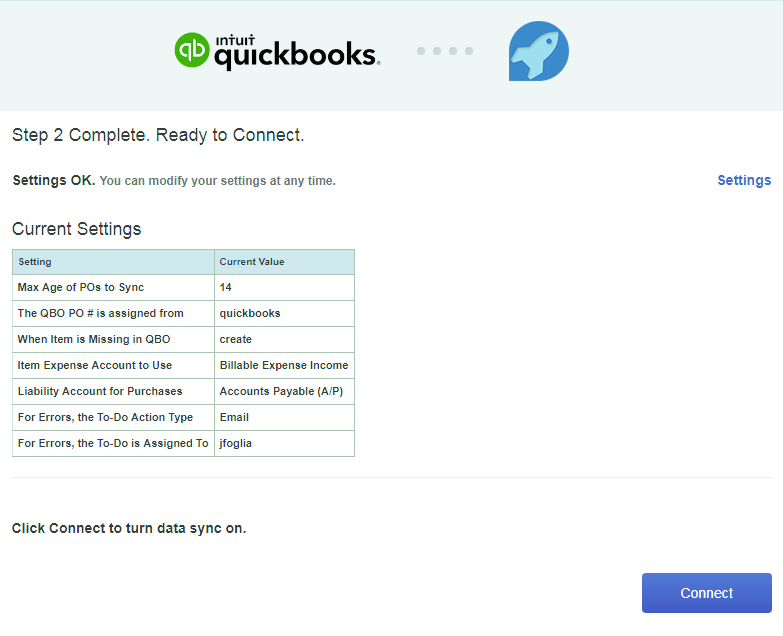
The Step 2 Complete page opens.
- Review the current settings.
- To change a setting, click Settings, make your changes, then click Save again.
- When your settings are correct, click Connect.
The integration connects and immediately begins scanning for eligible purchase orders.
When the scan is complete, the next scan is automatically scheduled and added to the Intuit AppConnect queue. The next scan can begin in 15 minutes, but the actual start time and the length of time to complete the process depends on the Intuit AppConnect platform activity. When activity level is high, it can take over an hour to complete.
What if an error occurs?
A number of things can cause occasional errors that prevent proper syncing. The following list describes several of the more common errors. Careful setup of your customers, vendors, purchase order items, and items in QuickBooks Online can help to prevent most common errors.
- There is no QuickBooks Online Customer and/or Vendor to match an Autotask Organization, and there is a validation error when attempting to create one automatically in QuickBooks.
- Items cannot be created in QuickBooks Online due to a validation error.
- An item is matched in QuickBooks, but it is not configured as a purchasable item.
- The user who connects to Autotask is not an API User and their password has expired.
- QuickBooks Online or Autotask is having capacity issues.
If an error should occur, it is recorded as a to-do under your local organization's Autotask account (organization ID 0). The to-do is assigned to the resource specified on the Settings page. It appears in your local organization's to-do list (Local Organization page > menu > To-Dos), and the My To-Dos list of the assigned resource (My > CRM > To-Dos). It is also noted in the Purchase Order to QuickBooks Online error logs.
If the transfer of QuickBooks purchase orders needs to be paused for any reason, you can do this by setting the Number of days in the past to look for unsynced POs to 0 (zero).
For information on your local organization, refer to Your local organization in Autotask.
Access and use the connection settings and logs
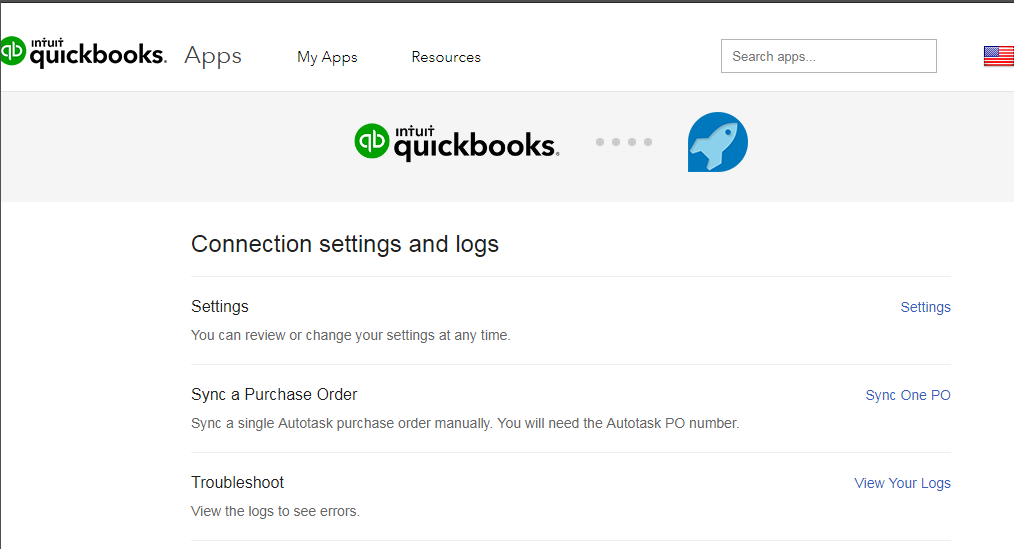
The Connection settings and logs page provides access to change the app settings, manually sync a purchase order, and view logs to troubleshoot.
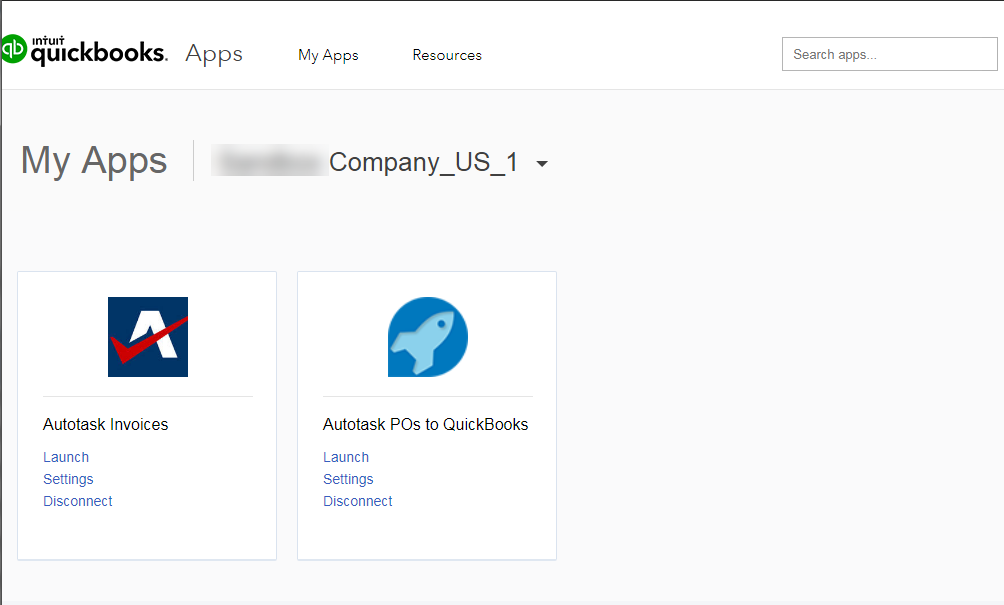
- In the top navigation bar of the integration application, click My Apps.
- Under Autotask POs to QuickBooks, click Settings.
TIP Currently, the Launch link also takes you to the Settings page.
- On the Connection settings and logs page, select the option you need.
If needed, you can return to the Settings page to adjust your integration settings at any time.
- Open the Connection settings and logs page. Refer to Access Connection Settings and Logs.
- Click Settings.
The Settings page opens to display your current settings. For a description of the settings, refer to Configure settings.
- Make changes as needed, then click Save.
TIP As best practice, make note of the current settings. if you ever need to disconnect the application and lose your settings, you can then quickly re-configure the settings.
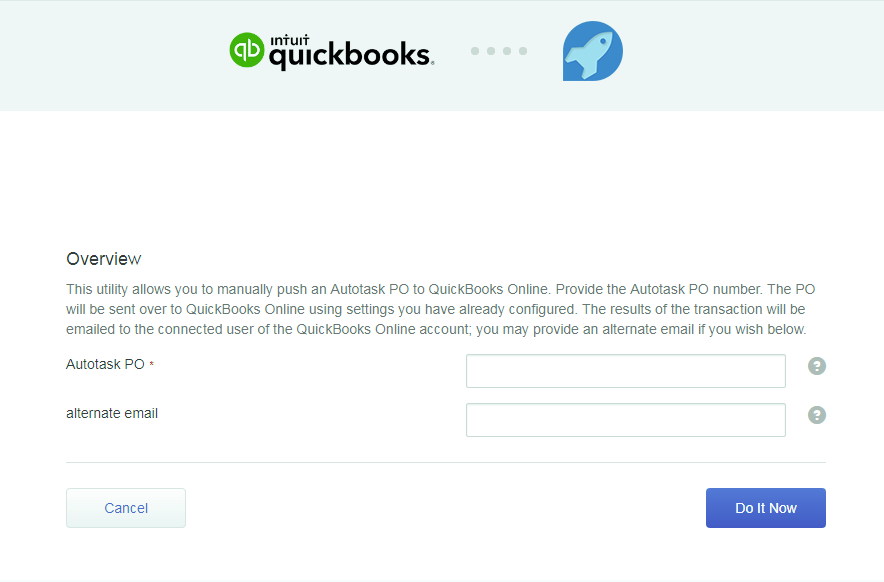
This tool allows you to manually push a single Autotask purchase order to QuickBooks Online using the currently configured settings. You need the Autotask Purchase Order ID.
- Access the Connection settings and logs page. Refer to Access Connection Settings and Logs.
- Click Sync one PO to open the manual sync page.
- Complete the fields as described.
| Field | Description |
|---|---|
| Autotask PO (required) | Enter the Autotask purchase order ID for the purchase order you want to sync. This is required. |
| alternate email | Optionally, enter an alternate email to receive the results of this transaction. If this field is left blank, the transaction email is sent to the email address associated with the logged in QuickBooks Online account. |
- Click Do It Now.
If an error should occur, an error message, with explanation, appears in red above the Overview information. An email is also sent to either the alternate email address or the email address associated with the logged in QuickBooks Online account.
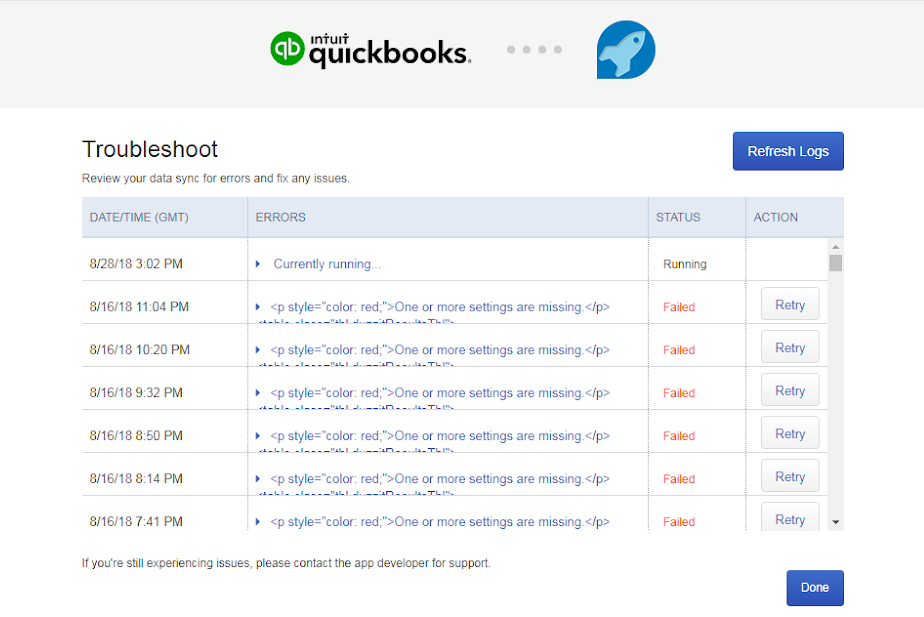
Use the Troubleshoot option to view a history of errors and to retry a failed sync after you fix the issues noted in the log. This page is especially useful if you are not the designated recipient for the error notifications.
- Access the Connection settings and logs page. Refer to Access Connection Settings and Logs.
- Click View Your Logs.
- Locate the log entry related to the error you are troubleshooting.
- Review the issue and resolve.
NOTE If you cannot resolve the issue, contact Kaseya Helpdesk.
- Then click Retry.
The Errors field will show that the app is running.
- When you have finished working with the log, click Done.
